
Smart Camera Placement Guide: Avoid These 5 Common Mistakes
What I Wish I Knew Before Installing My First Camera
When I installed my first smart camera, I thought I nailed it — until I realized it was pointing directly at a window and getting blinded by sunlight every morning. Since then, I’ve tested dozens of setups and helped friends avoid the same mistakes. If you want clear footage, better alerts, and stronger home security, the way you place your smart camera matters more than you think.
Let me walk you through the 5 biggest mistakes people make when placing their indoor or outdoor smart cams, and how to fix them.
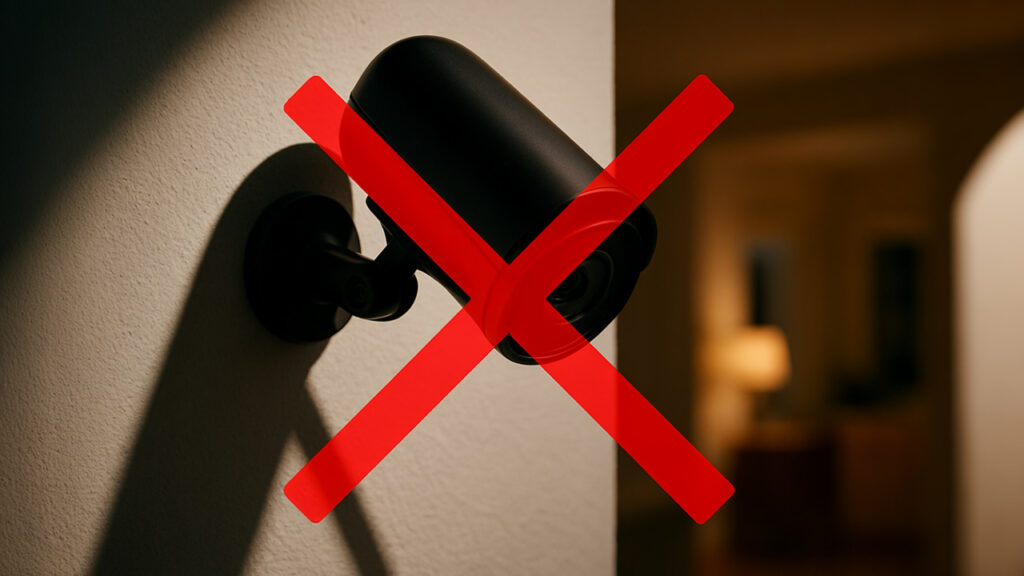
Table of Contents
Mistake #1: Facing the Camera Toward a Bright Window
If you point your camera directly at a window, especially one that gets direct sunlight, you’ll end up with washed-out images and poor night vision. Most smart cameras auto-adjust for brightness — so they’ll dim everything to compensate for the light, leaving you with unusable footage.
Fix: Place your camera perpendicular to the window instead of facing it. This way, you’ll still catch movement near the window without ruining your lighting.
THESE ARE MY RING INDOOR CAMS!
Mistake #2: Mounting Too High (Or Too Low)
I’ve seen people mount their cameras way up by the ceiling, thinking they’ll get a wide view — but all they capture are heads and tops of furniture. Mount it too low, and it’s easily tampered with.
Fix: Mount indoor cameras at 4–6 feet high, angled slightly downward. This captures faces, movement, and details without being too obtrusive or easy to unplug.
Mistake #3: Ignoring Blind Spots
A single camera can’t see everything. If your cam is facing the front door, it might miss what’s happening just around the corner. I learned this the hard way when a package was stolen from just outside the camera’s view.
Fix: Do a walkthrough of your home or property, identifying any blind spots. Use two or more cameras in large rooms or at entry/exit points that aren’t in direct view of your main cam.
THESE ARE MY RING INDOOR CAMS!
Mistake #4: Putting Cams Where Guests Expect Privacy
This is a legal and ethical no-no — especially if you’re an Airbnb host. Cameras in bedrooms or bathrooms aren’t just creepy — they’ll get you suspended (or worse, sued).
Fix: Stick to common areas only, like entryways, living rooms, and outside-facing windows or doors. Always disclose camera locations to guests or renters.
Mistake #5: Relying on Wi-Fi Dead Zones
Smart cameras are only as good as the signal they receive. If your Wi-Fi is weak in the garage or hallway, your camera may lag, drop offline, or fail to upload footage.
Fix: Use a Wi-Fi extender or mesh system to strengthen your signal. I added one near my back door and it instantly fixed the buffering issue on my outdoor cam.
Bonus Tips for Flawless Camera Setup
- Use motion zones to avoid false alerts (like pets walking by or cars on the street).
- Test the live feed before mounting — you don’t want to drill holes only to realize the view is wrong.
- Place cams where motion is natural, like hallways, entryways, or staircases.
- For outdoor cams, mount under an eave to protect from rain and sun glare.
- Don’t forget about audio — if your cam has a mic, avoid placing it near loud electronics or HVAC vents.
Final Thought
A smart camera isn’t just about owning the latest gadget — it’s about placing it with purpose. Take a few extra minutes to get it right, and you’ll thank yourself when that one clip saves your day, proves your side, or protects your home.
When placing a smart camera in your living room, position it where you can cover the main entryways and windows without pointing directly at seating areas. This keeps privacy intact for everyday use while still giving you visual control over access points.
In kitchens, I recommend placing cameras higher up — like on top of a cabinet or the fridge — aimed toward the entry. Kitchens tend to be high-traffic areas, and this setup avoids clutter while capturing motion effectively.
Entryways and foyers are some of the most important zones. Your camera should be mounted opposite the door, angled slightly downward to capture clear facial shots. It also helps confirm deliveries or visitor arrivals in real time.
If you want to monitor your garage, try to avoid placing the cam too close to automatic doors or high-signal interference spots. Instead, mount it on a side wall that has a clear view of both the door and the car bay — this helps detect vehicle movement and unusual entry attempts.
In hallways, smart cameras are excellent for tracking movement between rooms. One cam mounted at the end of a hallway can give you complete visibility across multiple doorways with minimal coverage overlap.
For child monitoring, keep cameras mounted high in corners, especially in nurseries or playrooms. This avoids tampering and ensures a wider angle, so you don’t miss critical moments like falls or unusual behavior.
If you’re using smart cameras in vacation properties, avoid aiming them at areas guests frequently use for personal activities — like couches or beds. Use motion zones to block out parts of the frame you don’t need, and always clearly disclose their presence in listings.
One overlooked tip: avoid mirrors. Cameras near mirrors can accidentally reflect parts of the home you didn’t intend to record, or even cause glare and distortions. Do a live test to ensure your cam’s reflection isn’t bouncing from unexpected places.
Ambient light makes a big difference. Night vision works best in complete darkness, but some smart cams with color night vision perform better with small amounts of ambient light. Test different conditions before finalizing placement.
Make sure your smart camera has a clear line of sight. Tall furniture like bookshelves or open doors can partially block the feed. Walk around the room while watching the live stream — if something blocks the lens as you move, adjust accordingly.
Avoid placing your camera near noisy electronics. Smart cams with audio features can pick up constant buzzing from refrigerators or humming from gaming consoles, which makes reviewing audio clips annoying and less useful.
Lastly, always secure your camera with a strong password and two-factor authentication. Placement is one part of the equation — but cybersecurity ensures no one can remotely tamper with or access your footage without permission.