
How to Improve Night Vision Quality on Your Smart Camera
See Clearly Even in the Dark: Real Fixes That Work
Let me be honest — when I first bought a smart security camera, I expected crystal-clear video 24/7. But when night came? Blurry shadows, washed-out faces, and grainy footage. I quickly realized that improving night vision quality isn’t just about the camera — it’s also about setup, lighting, and a few smart tweaks.
In this post, I’ll share what I did to dramatically improve my camera’s night vision, the mistakes I made, and what you should look for if you’re shopping for a cam that works well in low-light.
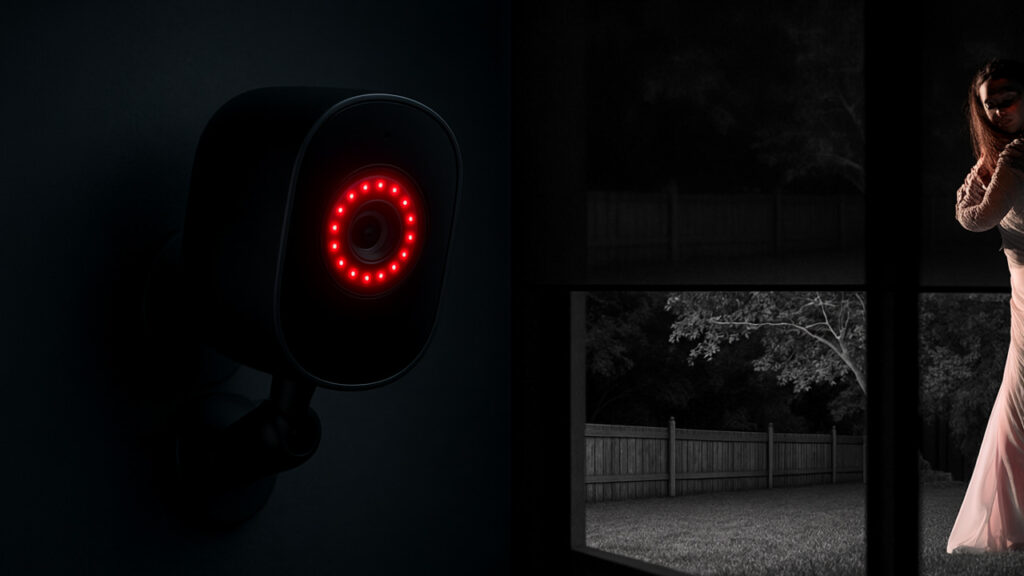
Table of Contents
1. Use the Right Placement: Avoid Windows and Reflections
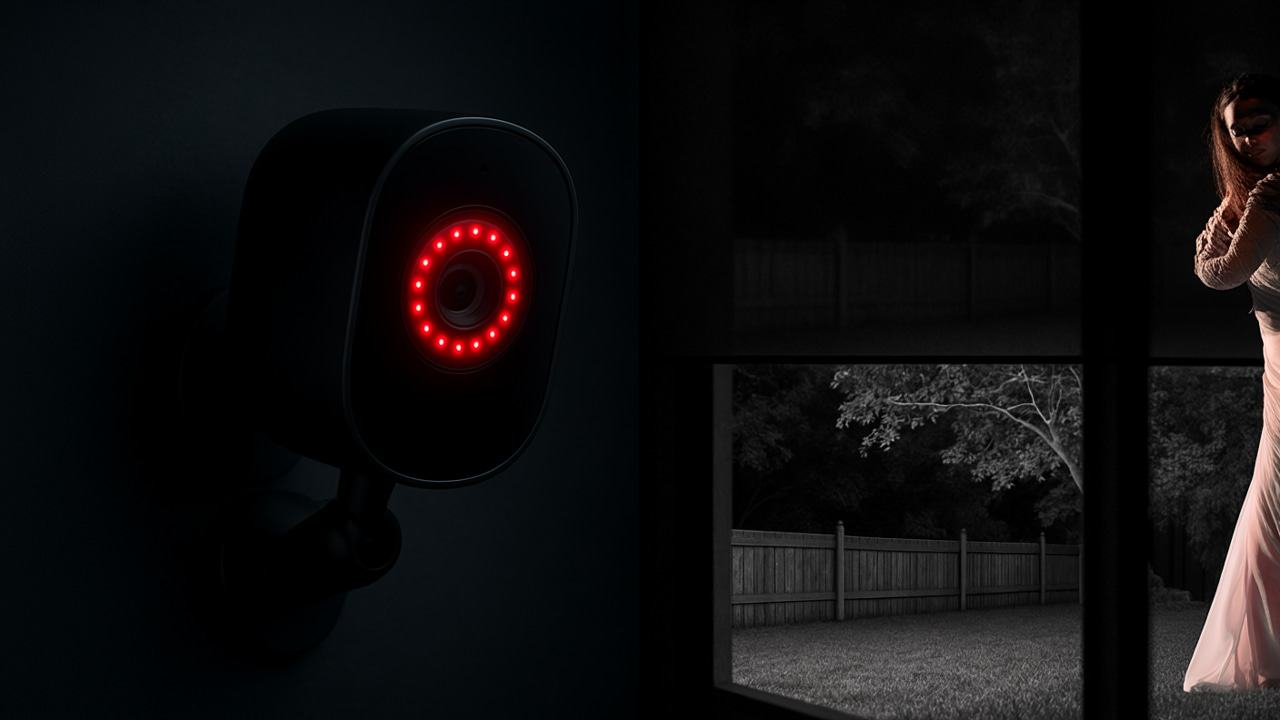
One of the biggest mistakes I made was placing the camera near a window. At night, glass reflects the infrared light from the camera, making the video useless. I moved mine to a spot away from reflective surfaces, and the difference was night and day (literally).
2. Add Low-Glow Night Lights Nearby
Smart cameras use infrared (IR) LEDs to light up a scene at night, but they can only do so much. I added a small, low-glow plug-in nightlight in the room — just enough ambient light to help the camera “see” without disrupting my sleep. It improved contrast and made it easier to identify faces.
3. Clean the Lens (Seriously)
Sounds simple, but dust or smudges on the lens can blur night vision even worse than in daytime. I now clean my camera lens every two weeks with a microfiber cloth, and it’s made a noticeable difference.
4. Upgrade to a Camera with Better IR Range
Not all cameras are built equal. If your footage still looks like a horror movie, it might be time to upgrade. I switched to the TP-Link Tapo C210 for one of my setups — it offers excellent 2K clarity and better IR range for under $40.
5. Don’t Place the Camera Too High or Too Far
Night vision weakens the farther the object is from the lens. I used to install mine at ceiling height, but lowering it to about eye-level (5–6 feet) improved detection and clarity. Make sure the key area (like your door or hallway) is within the IR range of your camera.
6. Adjust Night Vision Settings in the App
Most people don’t touch the camera’s software. Big mistake. I went into the Wyze app and adjusted IR intensity, brightness, and motion detection sensitivity — and got better images immediately. Each brand has its own options, so explore your app!
7. Avoid Pointing Directly at Light Sources
A rookie mistake: I aimed my cam toward a bright hallway light. Turns out, too much contrast between bright and dark areas makes it harder to capture detail at night. Repositioning away from light sources gave me a more balanced image.
8. Use Privacy Zones to Focus on Important Areas
Night vision often records more “noise” — like ceiling fans or passing headlights. I use privacy or activity zones to block out unnecessary areas and make my camera focus only on what matters: doors, windows, and pet zones.
9. Update Your Firmware
Night vision glitches can be caused by outdated software. I once had weird flickering and ghosting at night, and a simple firmware update fixed it. Go into your camera app and check if an update is available.
10. Add a Secondary Camera for Shadow Spots
If you have dark corners or blind spots, one camera might not be enough. I added a compact Wyze Cam OG facing the opposite direction, and now I have full room coverage — even in the dark.
11. Use Cloud Storage or High-Quality SD Cards
Poor night vision footage looks even worse when it’s compressed on cheap SD cards. I use class 10 SD cards or enable cloud recording for better preservation of nighttime footage.
12. Test It Yourself (Don’t Rely on Specs)
Specs don’t always tell the full story. I walked in front of the camera at night and recorded the results to my phone. That’s how I found the ideal placement and lighting setup. Test and tweak until it’s clear enough to recognize a face.
Final Thoughts
If you’ve been frustrated with grainy night vision footage, you’re not alone. I’ve been there. But with just a few tweaks — and possibly a better camera — you can dramatically improve your results. Clear night footage means better security, peace of mind, and sharper evidence if anything ever happens.
Many people forget that color night vision is now available on select models like the Wyze Cam v3 or Eufy Indoor C24. These cameras use a combination of low-light sensors and ambient lighting to give you real nighttime color — not just black and white.
Another smart trick? Use motion-activated lighting. I installed a small LED motion light near my hallway, and now when someone walks by, the camera picks up everything in crisp detail without needing to use infrared alone.
I also experimented with different mounting surfaces. If your camera is mounted on metal or glass, it can reflect IR light back into the lens. Switching to a wooden or matte wall surface can prevent that glare and enhance clarity.
Don’t skip the importance of infrared range specs. Most low-end smart cams only see up to 20 feet at night. But higher-end models can go up to 30–40 feet, which is a game-changer for larger rooms or outdoor spaces.
Some cameras now come with adaptive infrared, which means they adjust IR strength based on the lighting in the room. This avoids overexposing close objects and underexposing farther ones. I tested this on the TP-Link Tapo C200, and the results were much more balanced.
Consider using curtains or blackout film if you live near streetlights. Artificial outdoor light can confuse your camera’s sensors at night, causing flickering or incorrect switching between night/day modes.
If your camera allows manual IR control, use it. I sometimes turn off night vision manually if I have a dim light on already — that way I get better quality than the washed-out IR black and white look.
A good rule of thumb: don’t just set it and forget it. Every room is different. I often revisit my settings every few weeks or whenever I rearrange furniture. Even a small shift in layout can affect how well your camera performs at night.
Also, check if your camera has a low-light sensor mode or HDR toggle. Turning on HDR (high dynamic range) during day mode can sometimes reduce performance at night — so disable it if your image looks “flattened” or grainy after dark.
Investing in a camera hood or anti-glare shield (available for less than $10 online) can block excess light and improve your footage clarity, especially in window-mounted setups.
Smart cameras with AI detection can also reduce false alerts at night. Instead of waking up to every flying insect triggering motion detection, models with human or pet detection filter the noise and only alert you when it matters.
And finally, always test your camera footage in the worst conditions — completely dark, no ambient light, and no movement. If you can still see facial outlines and general movement, your setup is good. If not, it’s time to reposition or consider a stronger model.