

How to Set Up Your Ring Indoor Cam: A Step-by-Step Guide
(No Tools, No Stress — Just Peace of Mind in Minutes)
When I bought my Ring Indoor Cam, I was a little nervous about setting it up. I’m not exactly the most tech-savvy person — but to my surprise, the process was way easier than I thought. Seriously, I had mine up and running in less than 10 minutes, and I didn’t need a single tool.
In this quick guide, I’ll walk you through exactly how I set up my Ring Indoor Cam, using only the gear that came in the box — no fancy equipment or confusing steps.
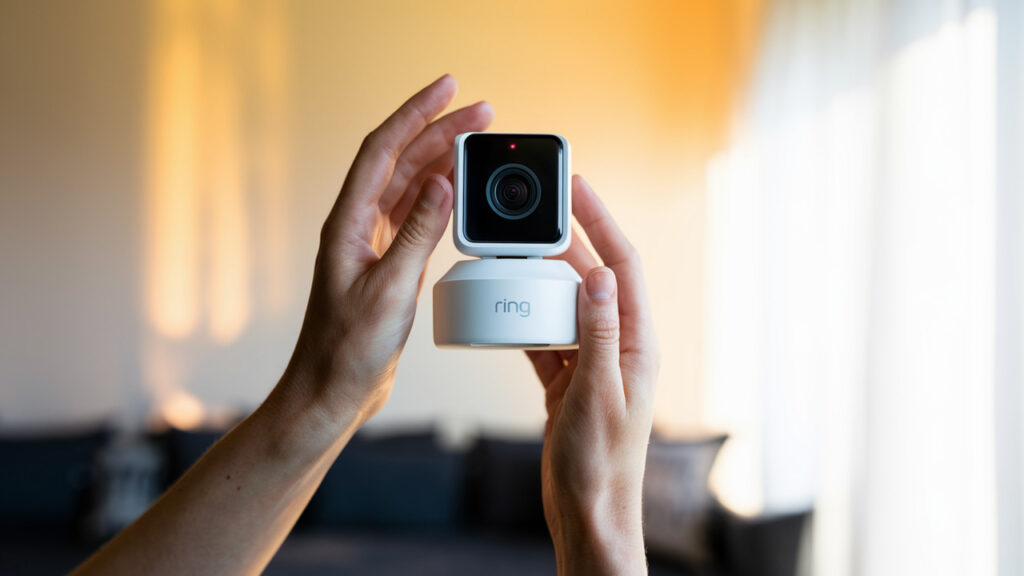
Table of Contents
What You’ll Need:
- Your Ring Indoor Cam
- A smartphone or tablet
- A stable Wi-Fi connection
- The Ring app (free in the App Store or Google Play)
Get your Ring Indoor Cam here on Amazon
Step 1: Download the Ring App
Before you even plug in your camera, go ahead and download the Ring app on your phone. It’s free, fast to install, and walks you through everything. Once installed, create a Ring account or sign in if you already have one.
Step 2: Plug in the Camera
Unbox your Ring Indoor Cam and plug it into the nearest power outlet. You’ll see a small light start blinking — that means it’s in setup mode and ready to connect.
Step 3: Scan the QR Code
Open the Ring app, tap “Set Up a Device,” and choose “Indoor Cam” from the list. It’ll ask you to scan the QR code on the back of your camera or on the packaging. This connects your device to your account and ensures a secure setup.
Step 4: Connect to Wi-Fi
The app will walk you through connecting the camera to your home Wi-Fi. Make sure you’re on a 2.4 GHz network (Ring cams don’t work with 5 GHz). Once connected, the camera will update itself automatically and you’ll be ready to go.
Step 5: Choose a Location
Here’s where it gets personal. I put mine on a bookshelf in the living room so I could watch my dog while I’m out. You can mount it, stick it on a shelf, or use a tripod stand. Just make sure it has a clear view of the area you want to monitor and is close to an outlet.
Step 6: Customize Your Settings
Once the camera is connected, you can adjust:
- Motion sensitivity
- Motion zones
- Alerts and notifications
- Privacy zones (to block out areas you don’t want recorded)
I made sure to set a privacy zone for the bathroom door, and I love how customizable everything is.
Step 7: Test It Out
Before you walk away, open the app and view your live feed. Try the two-way audio, walk in front of the cam to test motion alerts, and make sure the video is clear. This step helped me fine-tune the angle and placement.
Bonus Tip: Link to Alexa Devices
If you have an Echo Show or any Alexa-enabled screen, you can link your Ring cam for voice access. Just say, “Alexa, show me the living room,” and the live feed pops up instantly.
Why This Setup Matters
Getting your Ring Indoor Cam working is more than just tech — it’s about feeling safer in your space. Knowing I can open my app at any moment and check on my home, my pets, or my packages gives me a level of peace I didn’t realize I needed.
✅ Want to Get Started?
Click here to get the Ring Indoor Cam on Amazon and follow this exact setup — it’s the same one I used, and I haven’t looked back.
One thing I appreciated during setup was how the Ring app kept everything simple. It doesn’t overload you with tech jargon — it just gives you easy-to-follow prompts. That made a huge difference for me, especially since I’ve struggled with other smart home devices in the past.
If you’re placing your Ring Indoor Cam in a high-traffic area, I recommend adjusting the motion settings right away. Mine was too sensitive at first and kept sending alerts every time the curtains moved. Once I adjusted the zones, it was perfect.
The camera also lets you turn off the blue LED light on the front, which is great if you don’t want to draw attention to it. I personally leave mine on during the day and turn it off at night to keep things discreet.
Another cool feature during setup is the ability to name your camera based on its location. I named mine “Living Room” so I can easily check the feed when I open the app. You can name them anything — Kitchen, Office, or even “Dog Cam.”
If you’re planning to use more than one Ring camera (like I do), the app automatically organizes them into one dashboard. It makes checking on each room super easy — just swipe between them, no extra logins or syncing required.
Mounting the camera is totally optional, but if you want to mount it, the box includes a mounting plate and screws. I didn’t need to use them, but it’s good to know Ring gives you the tools if you decide to go that route later.
I’ve moved my Ring cam a few times between rooms, and each time I simply unplug it, move it, and plug it in again. The app keeps the settings saved, so I don’t have to start over. That flexibility has been really helpful when rearranging or redecorating.
Another tip I learned the hard way — don’t place the camera directly facing a window. The glare or reflection from the glass can mess with motion detection and video clarity. Angle it slightly for better results.
If you have pets, test how often they trigger alerts. My dog used to walk in and out of the room, causing frequent notifications. I adjusted the motion zones lower to avoid the constant pinging, and it worked great.
The Ring app also gives you event history, so even if you miss a notification, you can go back and watch what happened. This is especially useful if you’re using it while away from home or traveling.
When you enable linked devices in the app, you can sync your Ring Indoor Cam with other Ring products. For example, if your front door camera detects motion, your indoor cam can start recording too. It’s a smart feature I didn’t expect to use — but now I rely on it.
Finally, remember to test the audio feature. I didn’t realize how helpful it would be until I used it to tell a delivery driver to leave a package inside the front door. It’s great for communicating without opening the door or even being home.
2 thoughts on “How to Set Up Your Ring Indoor Cam: A Step-by-Step Guide”